Requirements
The plugin requires a version of Jellyfin greater or equal to 10.7.0 (>=10.7.0) and an unstable version of Shoko Server greater or equal to 4.1.1 (>=4.1.1) to be installed. It also requires that you have already set up and are using Shoko Server, and that the directories/folders you intend to use in Jellyfin are fully indexed (and optionally managed) by Shoko Server, otherwise the plugin won’t be able to funciton properly — it won’t be able to find metadata about any entries that are not indexed by Shoko Server since the metadata we want is not available.
Install
There are multiple ways to install this plugin, but the recommended way is to use the official Jellyfin repository. Be sure to establish a connection between the plugin and your running instance of Shoko Server in the plugin settings before trying to use it on a library. Read more on that in the next section after you’ve finished your install.
Official Repository
- Navigate to the Dashboard
- Click on “Plugins” in the side-bar, and click it.
- Click on “Repositories” on the top of the Plugins page.
- Add new repository by clicking on the plus-icon (+) and enter the following details;
- Repository Name:
Shokofin Stable - Repository URL:
https://raw.githubusercontent.com/ShokoAnime/Shokofin/master/manifest.json
- Repository Name:
- Click on “Catalog” on the top of the Plugins page.
- Scroll down and till you find “Shokofin” under the Metadata section, and click it.
- Click the blue Install-button. You will get a pop up warning you about using untrusted plugins. Click Ok.
- Restart your server to apply the changes.
Github Releases
Download the
shokofin_*.zipfile from the latest release from GitHub here.Extract the contained
Shokofin.dllandmeta.json, place both the files in a folder namedShokofinand copy this folder to thepluginsfolder under the Jellyfin program data directory or inside the portable install directory. Refer to the “Data Directory” section on this page for where to find your jellyfin install.Start or restart your server to apply the changes
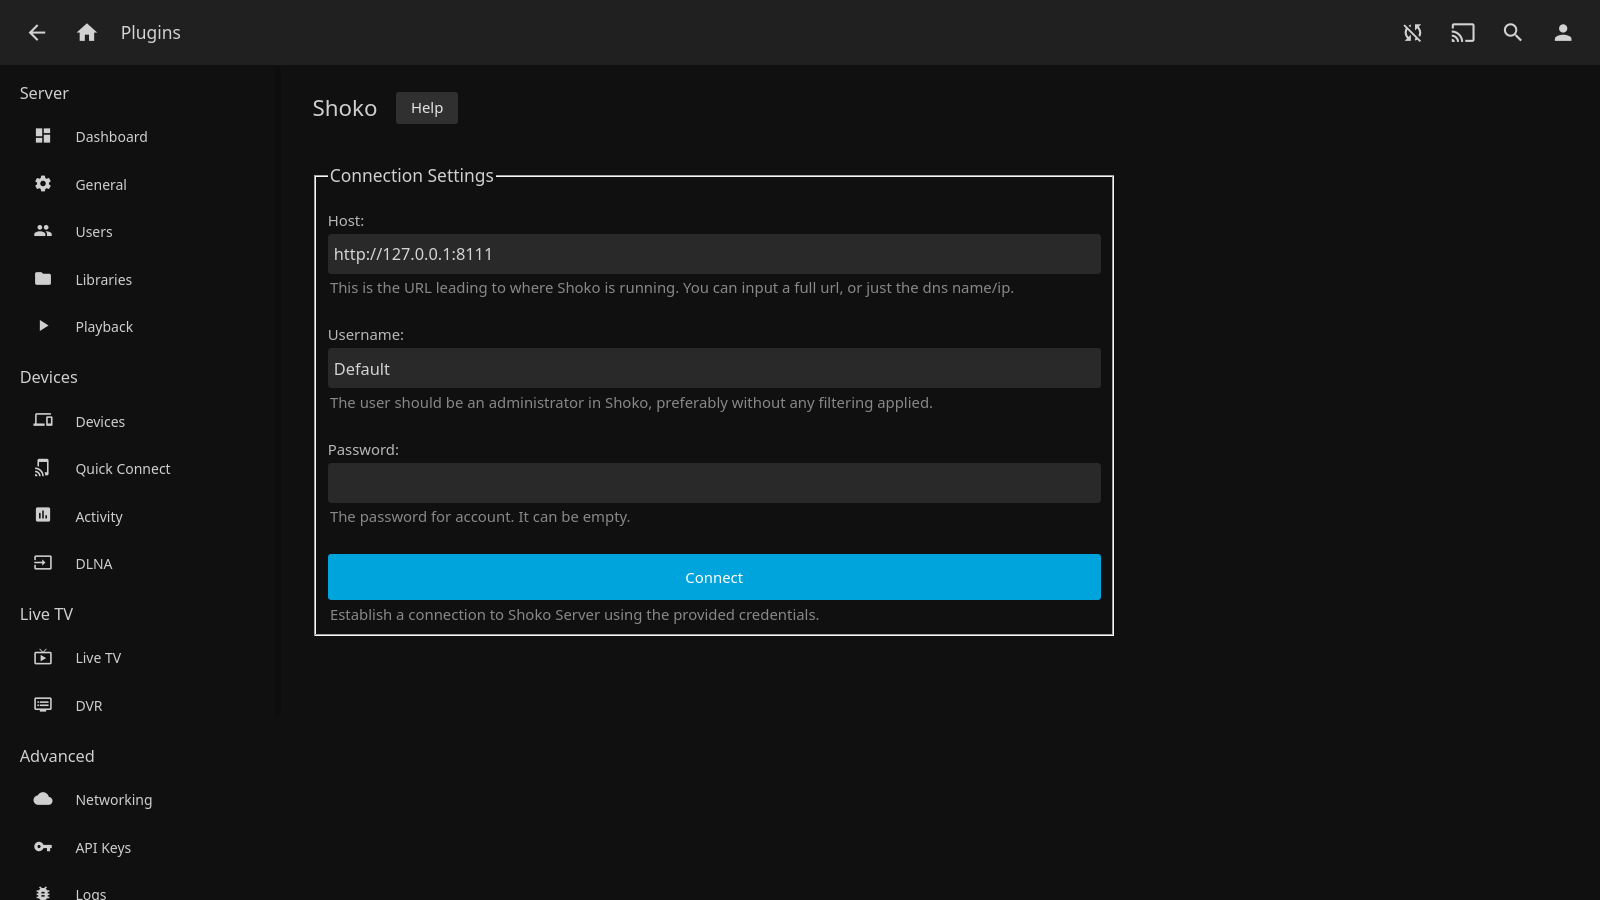
Setup
Before you start using the plugin it is important to connect the plugin to a running instance of Shoko Server. So head over to the plugin settings and provide the Host, Username and Password credentials and click the Connect button.
After you’ve established a connection to a running instance of Shoko Server then you’re free to either use the plugin as-is or to change any of the other settings to your liking.